
The Process of Engraving: Behind-The-Scenes at Perfectly Engraved

The Process of Engraving: Behind-the-scenes at Perfectly Engraved
It’s pretty simple: you buy a medal or a trophy; a necklace, a ring or a shiny new watch. You want to add that extra-special touch to your purchase, so you send it off to us here at Perfectly Engraved. In a matter of days we’ll have your purchase sent right back out to you: with your chosen words, phrases or numbers perfectly engraved into them, ready for use. But have you ever wondered how the whole engraving process actually works?
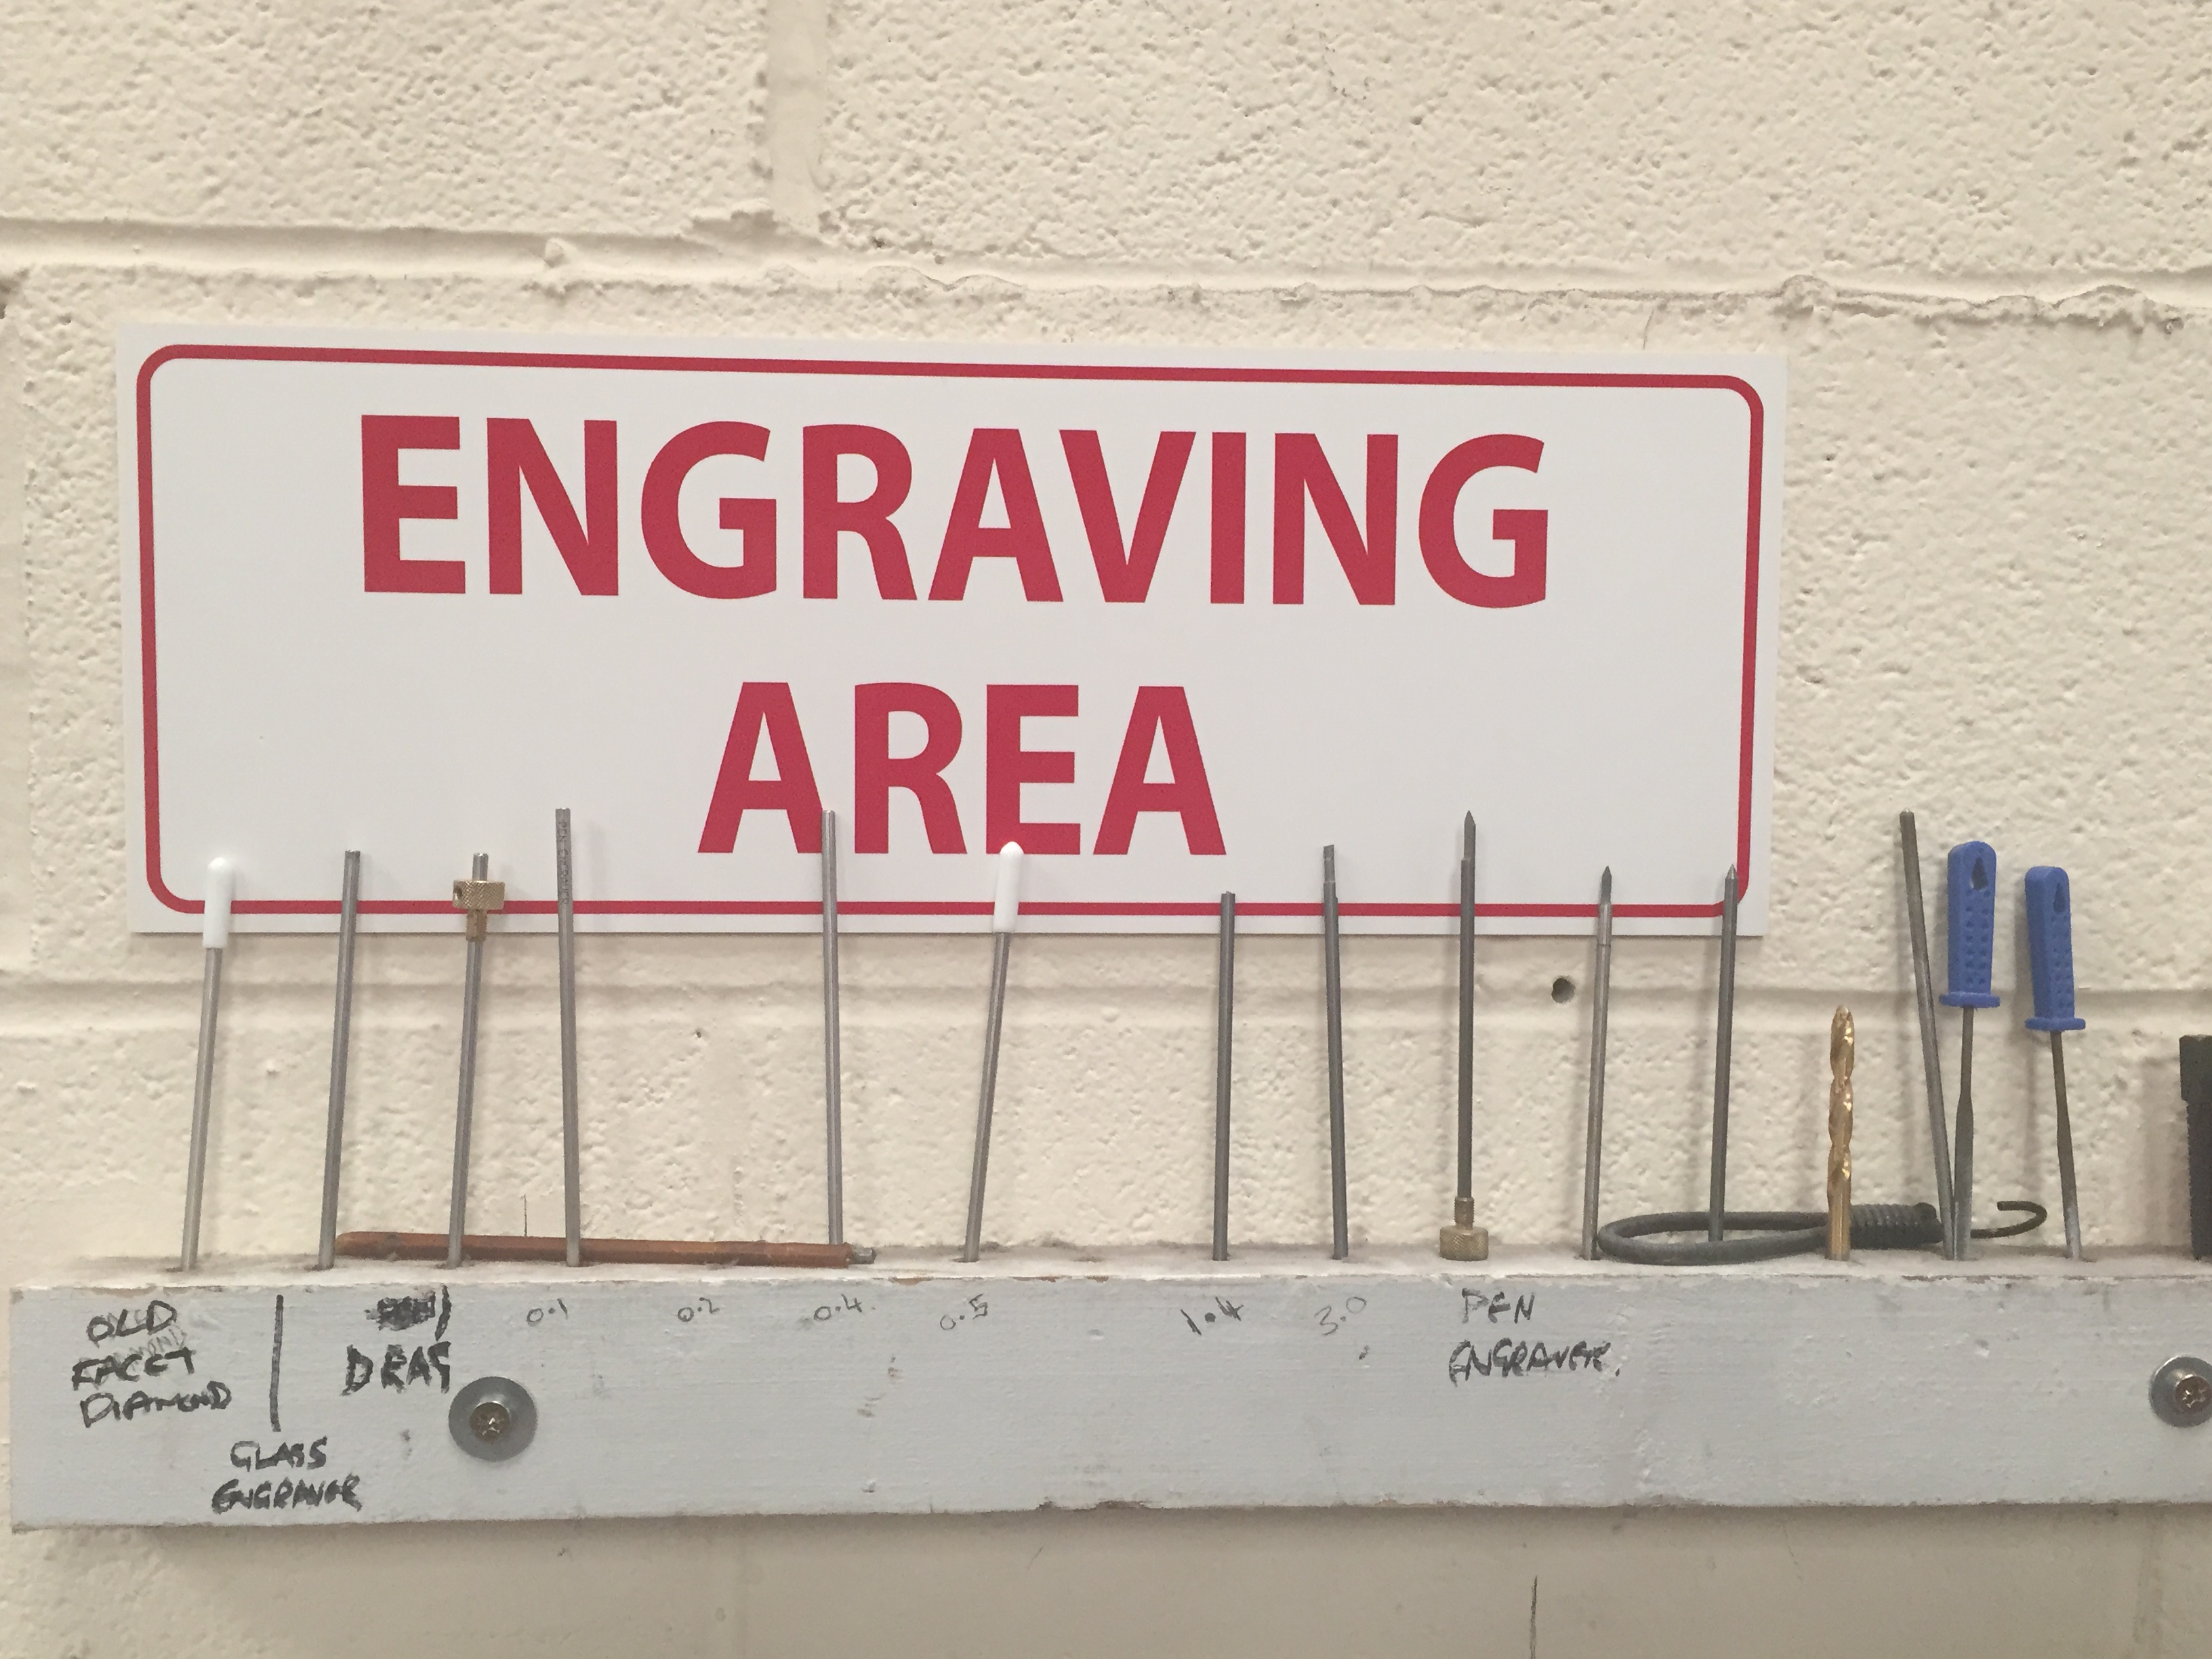
There are two main types of engraving methods that are used in today’s Recognition and Identification industry: Rotary and Laser engraving. While both of these effectively do the same job, each method has its own distinct advantages. Laser engraving is non-contact, for example, so it can be used for graphics and photographs as well as different types of metals. However, here at Perfectly Engraved we use a Computerised Rotary Engraving Machine. The advantages of this method are that it can be used on a wider variety of metals (both coated and uncoated) than its laser counterpart. It is also capable of making deeper, more impressionable cuts on a greater range of materials; from plastic and acrylic to stainless steel.
The Process of Engraving
The engraving process itself can be broken down into 8 main stages.
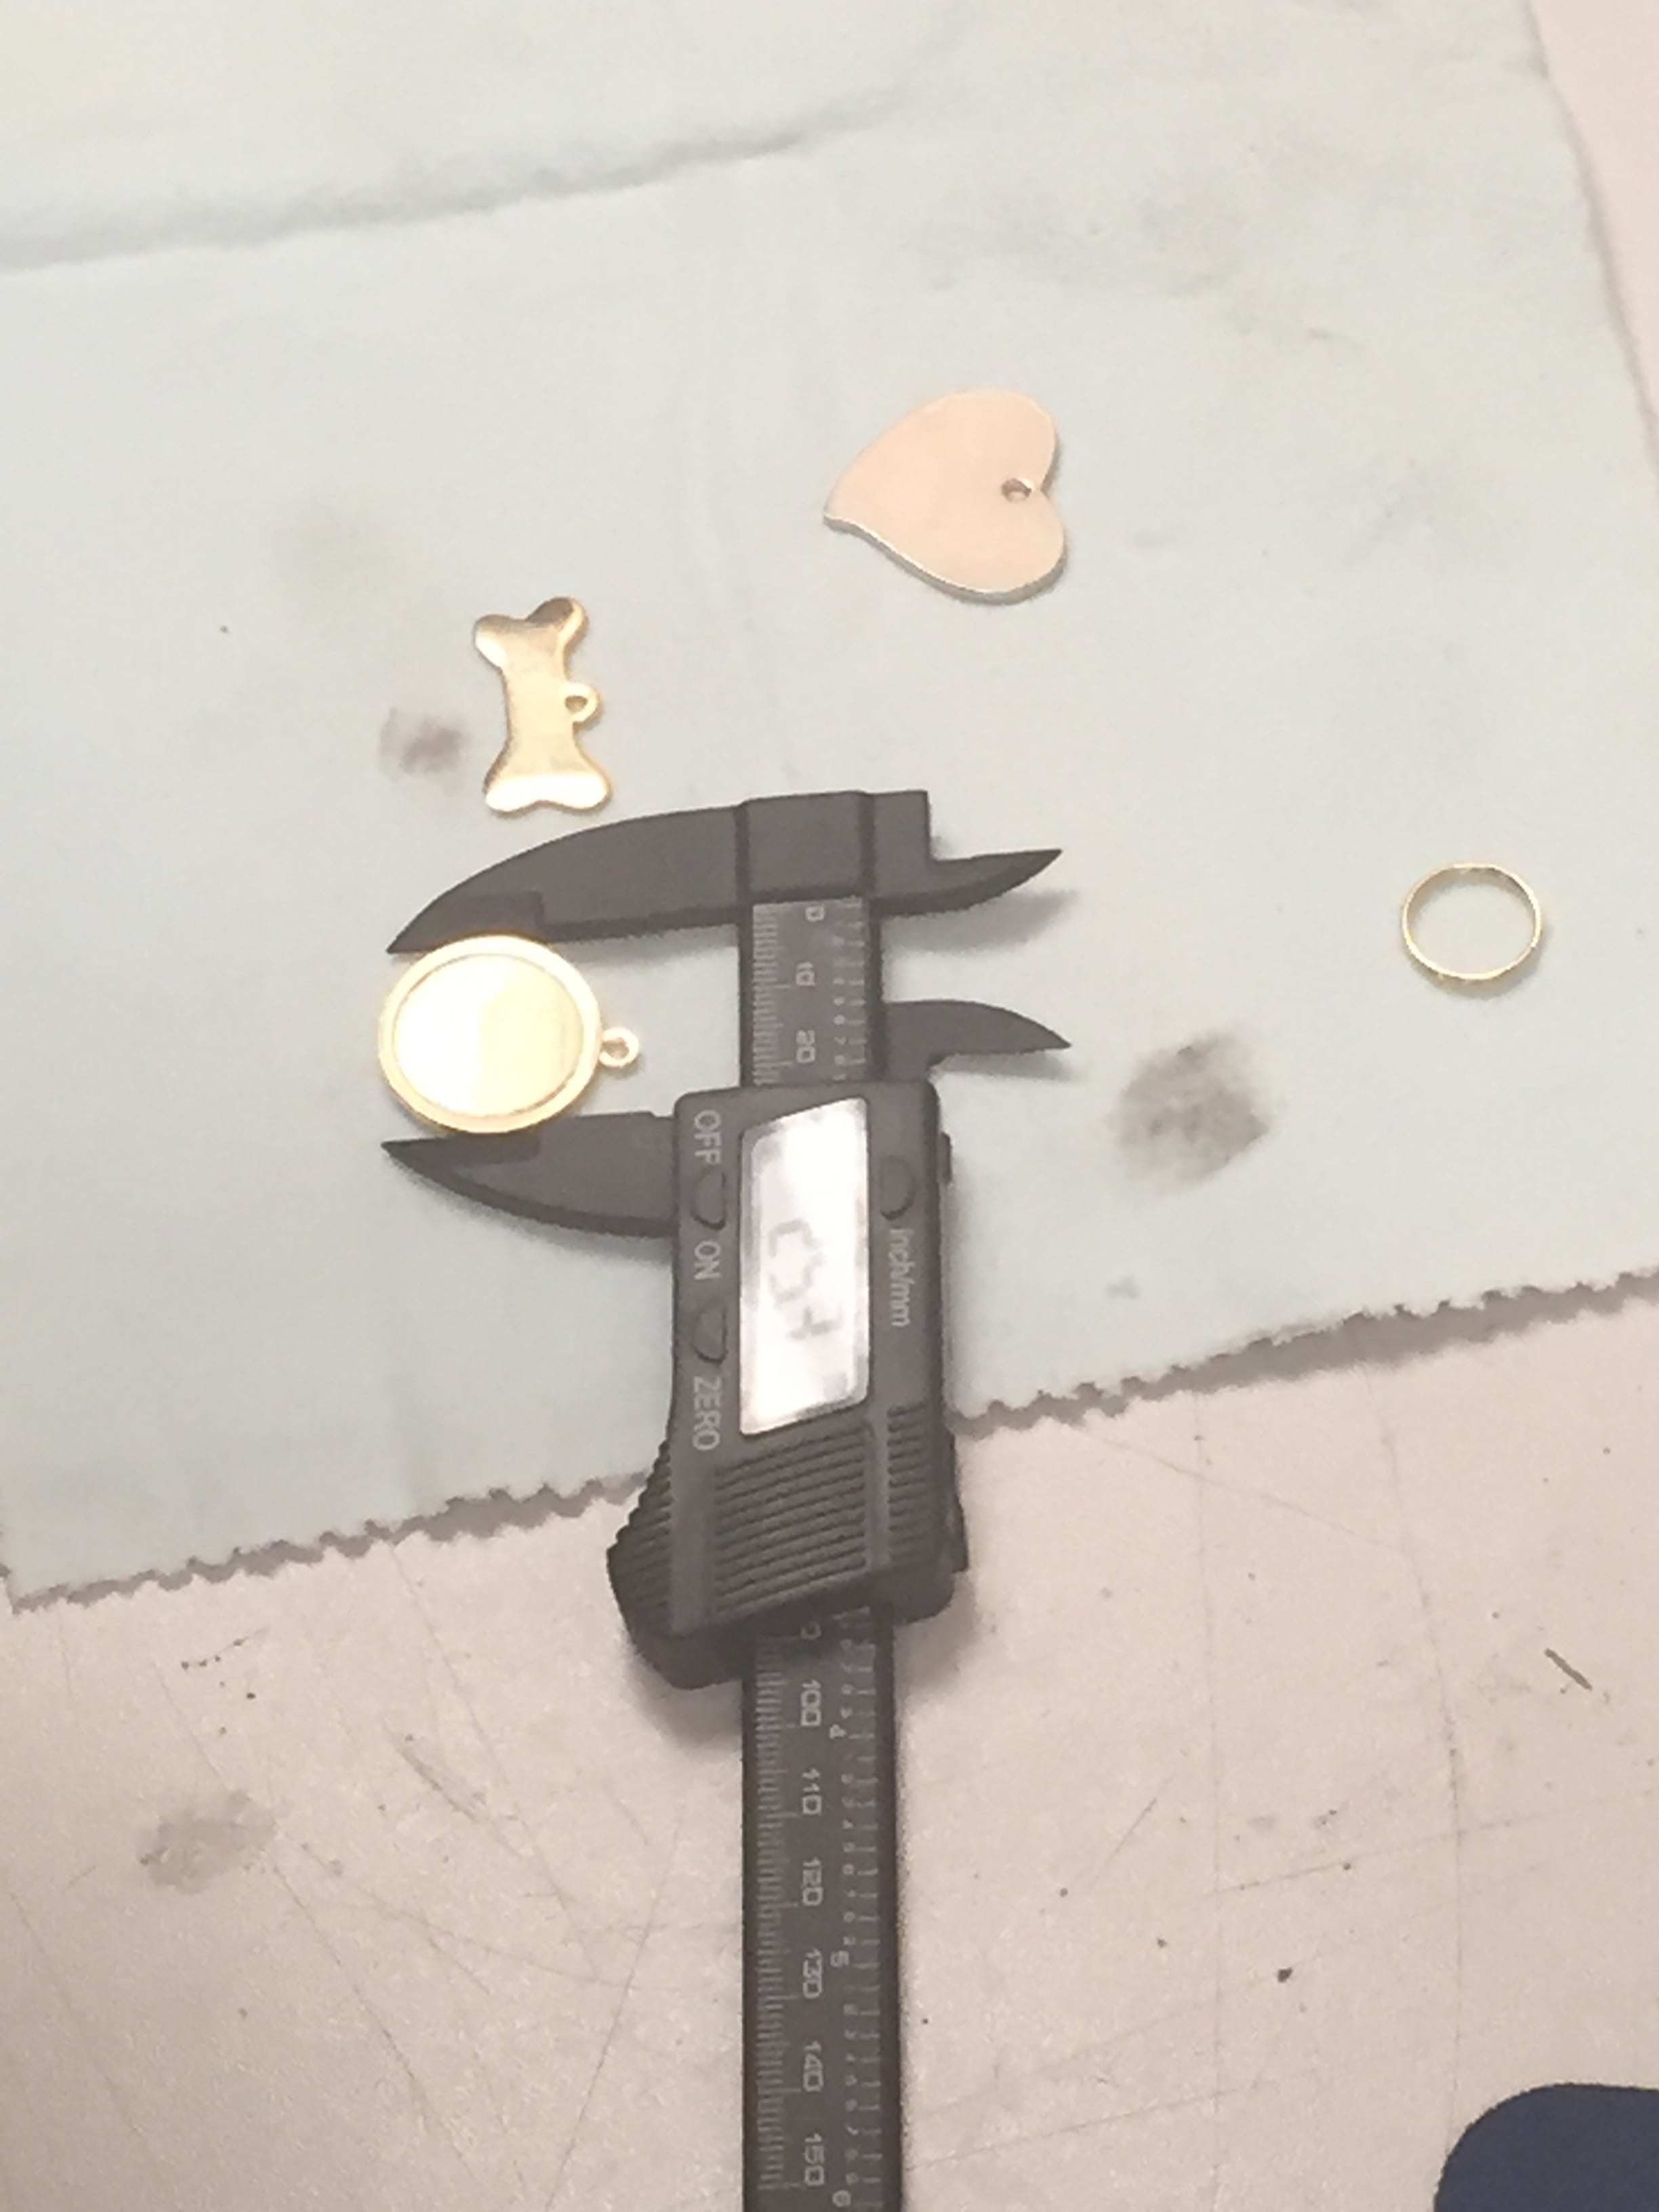
1. To begin with, the object that is to be engraved is accurately measured across all dimensions with a pair of callipers.
2. The engraver then inputs these measurements into a computer that is specially enabled with ‘Engrave Lab’ software, so that they are able to digitally replicate the object on the computer screen.
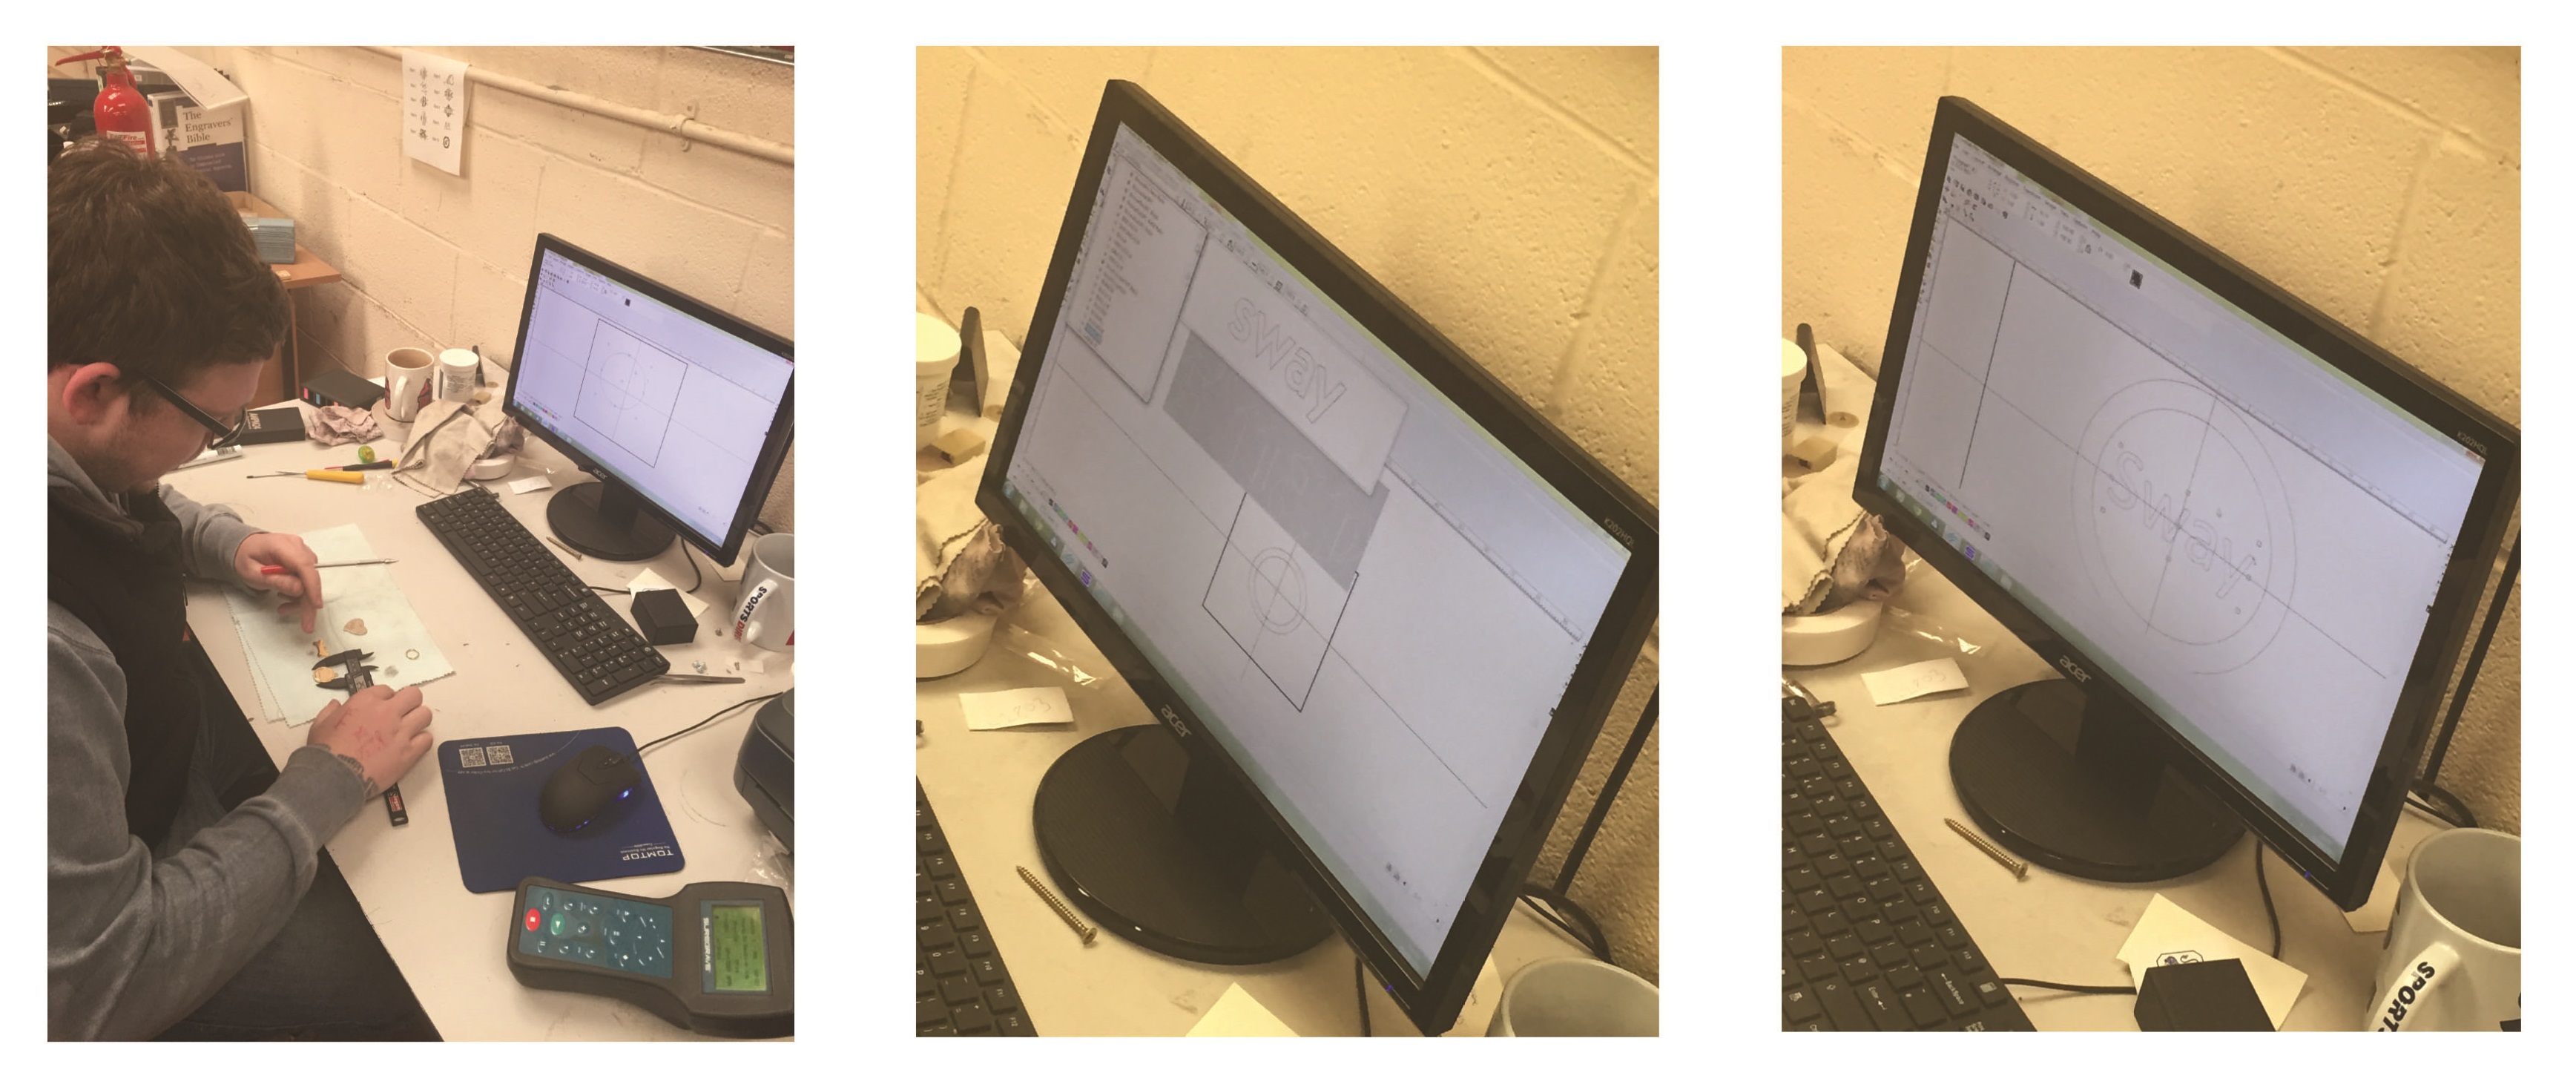
3. Once this is done, the engraver is able to digitally design the words or numbers on the screen that are going to be engraved onto the object in question: visualising the finished product before any cutting actually takes place. They are able to experiment with different font styles and sizes, alignment options and character spacing until they are content that the engraved object will meet the specifications of the customer.
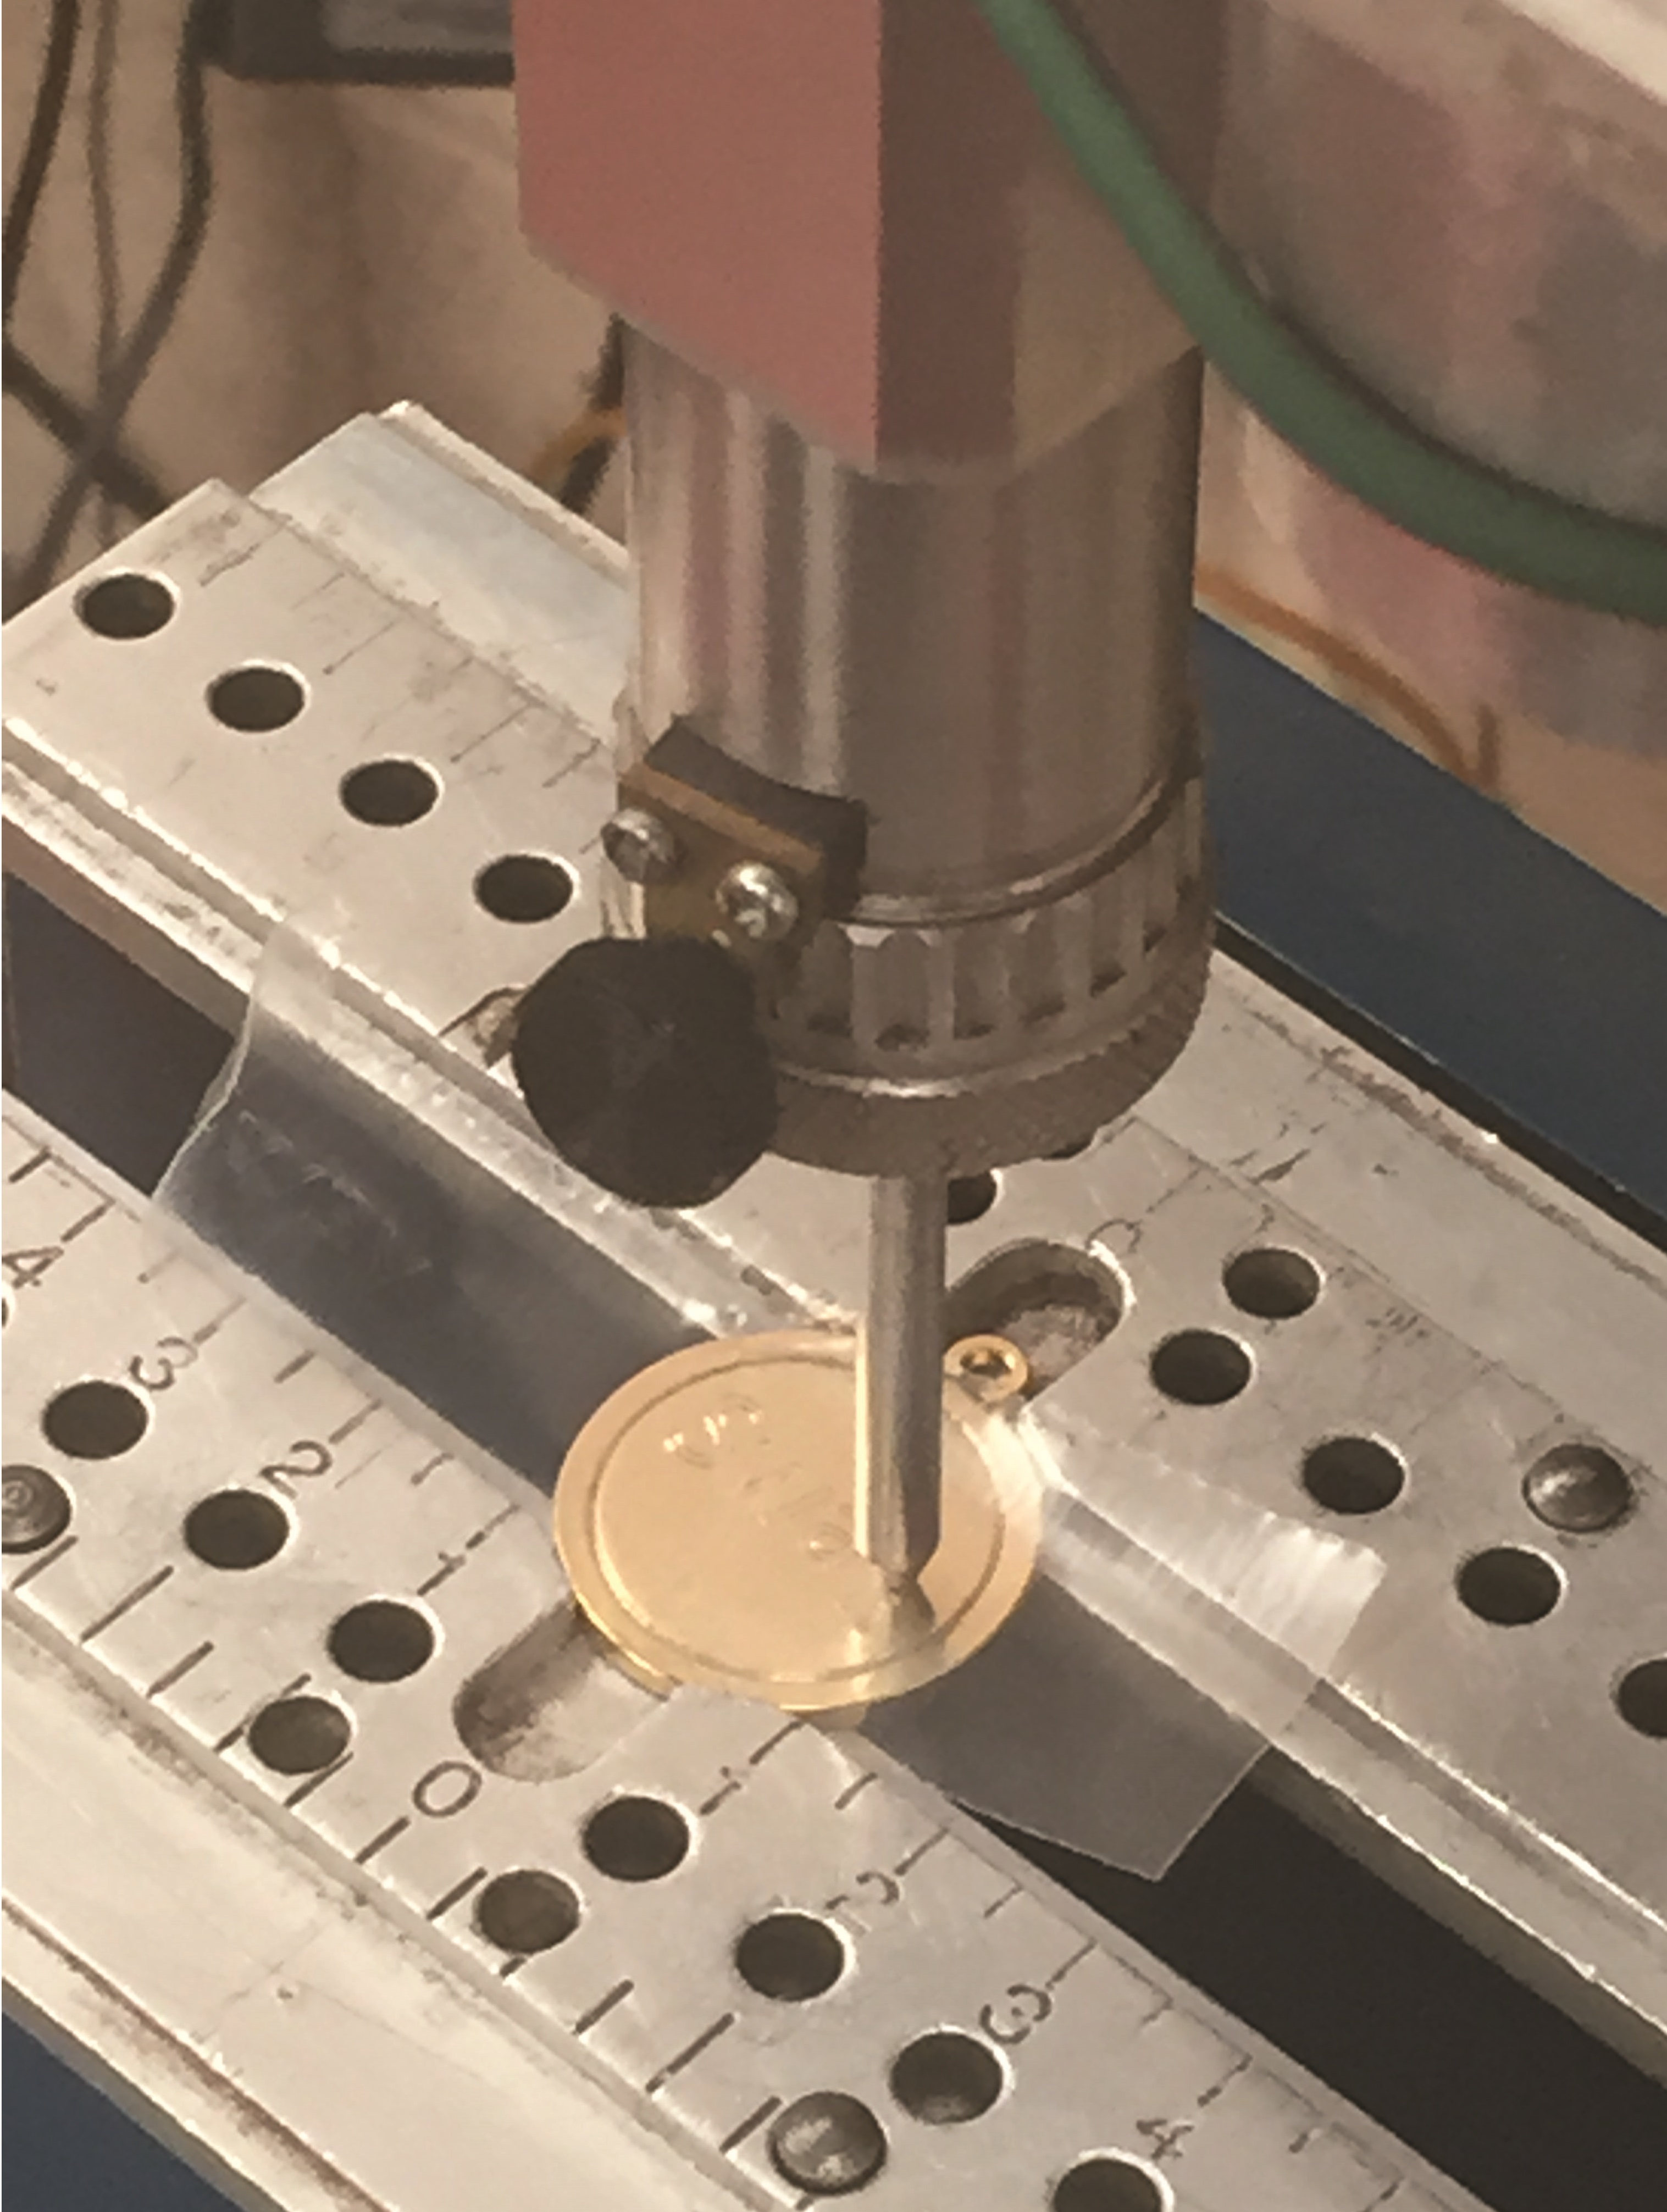
4. Satisfied with their graphic design, the engraver clamps the object tightly in the jigs of the Computerised Rotary Engraving Machine and simply covers it with a piece of sellotape.
5. By adjusting the height of the cutter (or spindle), the engraver is then able to lightly etch the words or numbers onto the sellotape, without actually touching the object below, completely eliminating any risk of error or accidental damage with an incredibly easy and time-honoured technique.
[N.B.] – the height that the engraver chooses for the cutter is dependent upon the thickness and density of the material being engraved. For example, copper is traditionally a ‘soft’ metal that doesn’t require as much pressure as steel alloys or iron, which are both considered to be ‘harder’ metals.
6. The engraver can practice engraving the sellotape a number of times to see what the final cut will look like on the object. It is particularly important here to make sure that the words or numbers are central, as is usually expected from the customer. Little tweaks to the digital design are made according to the engraver’s skilled observations.
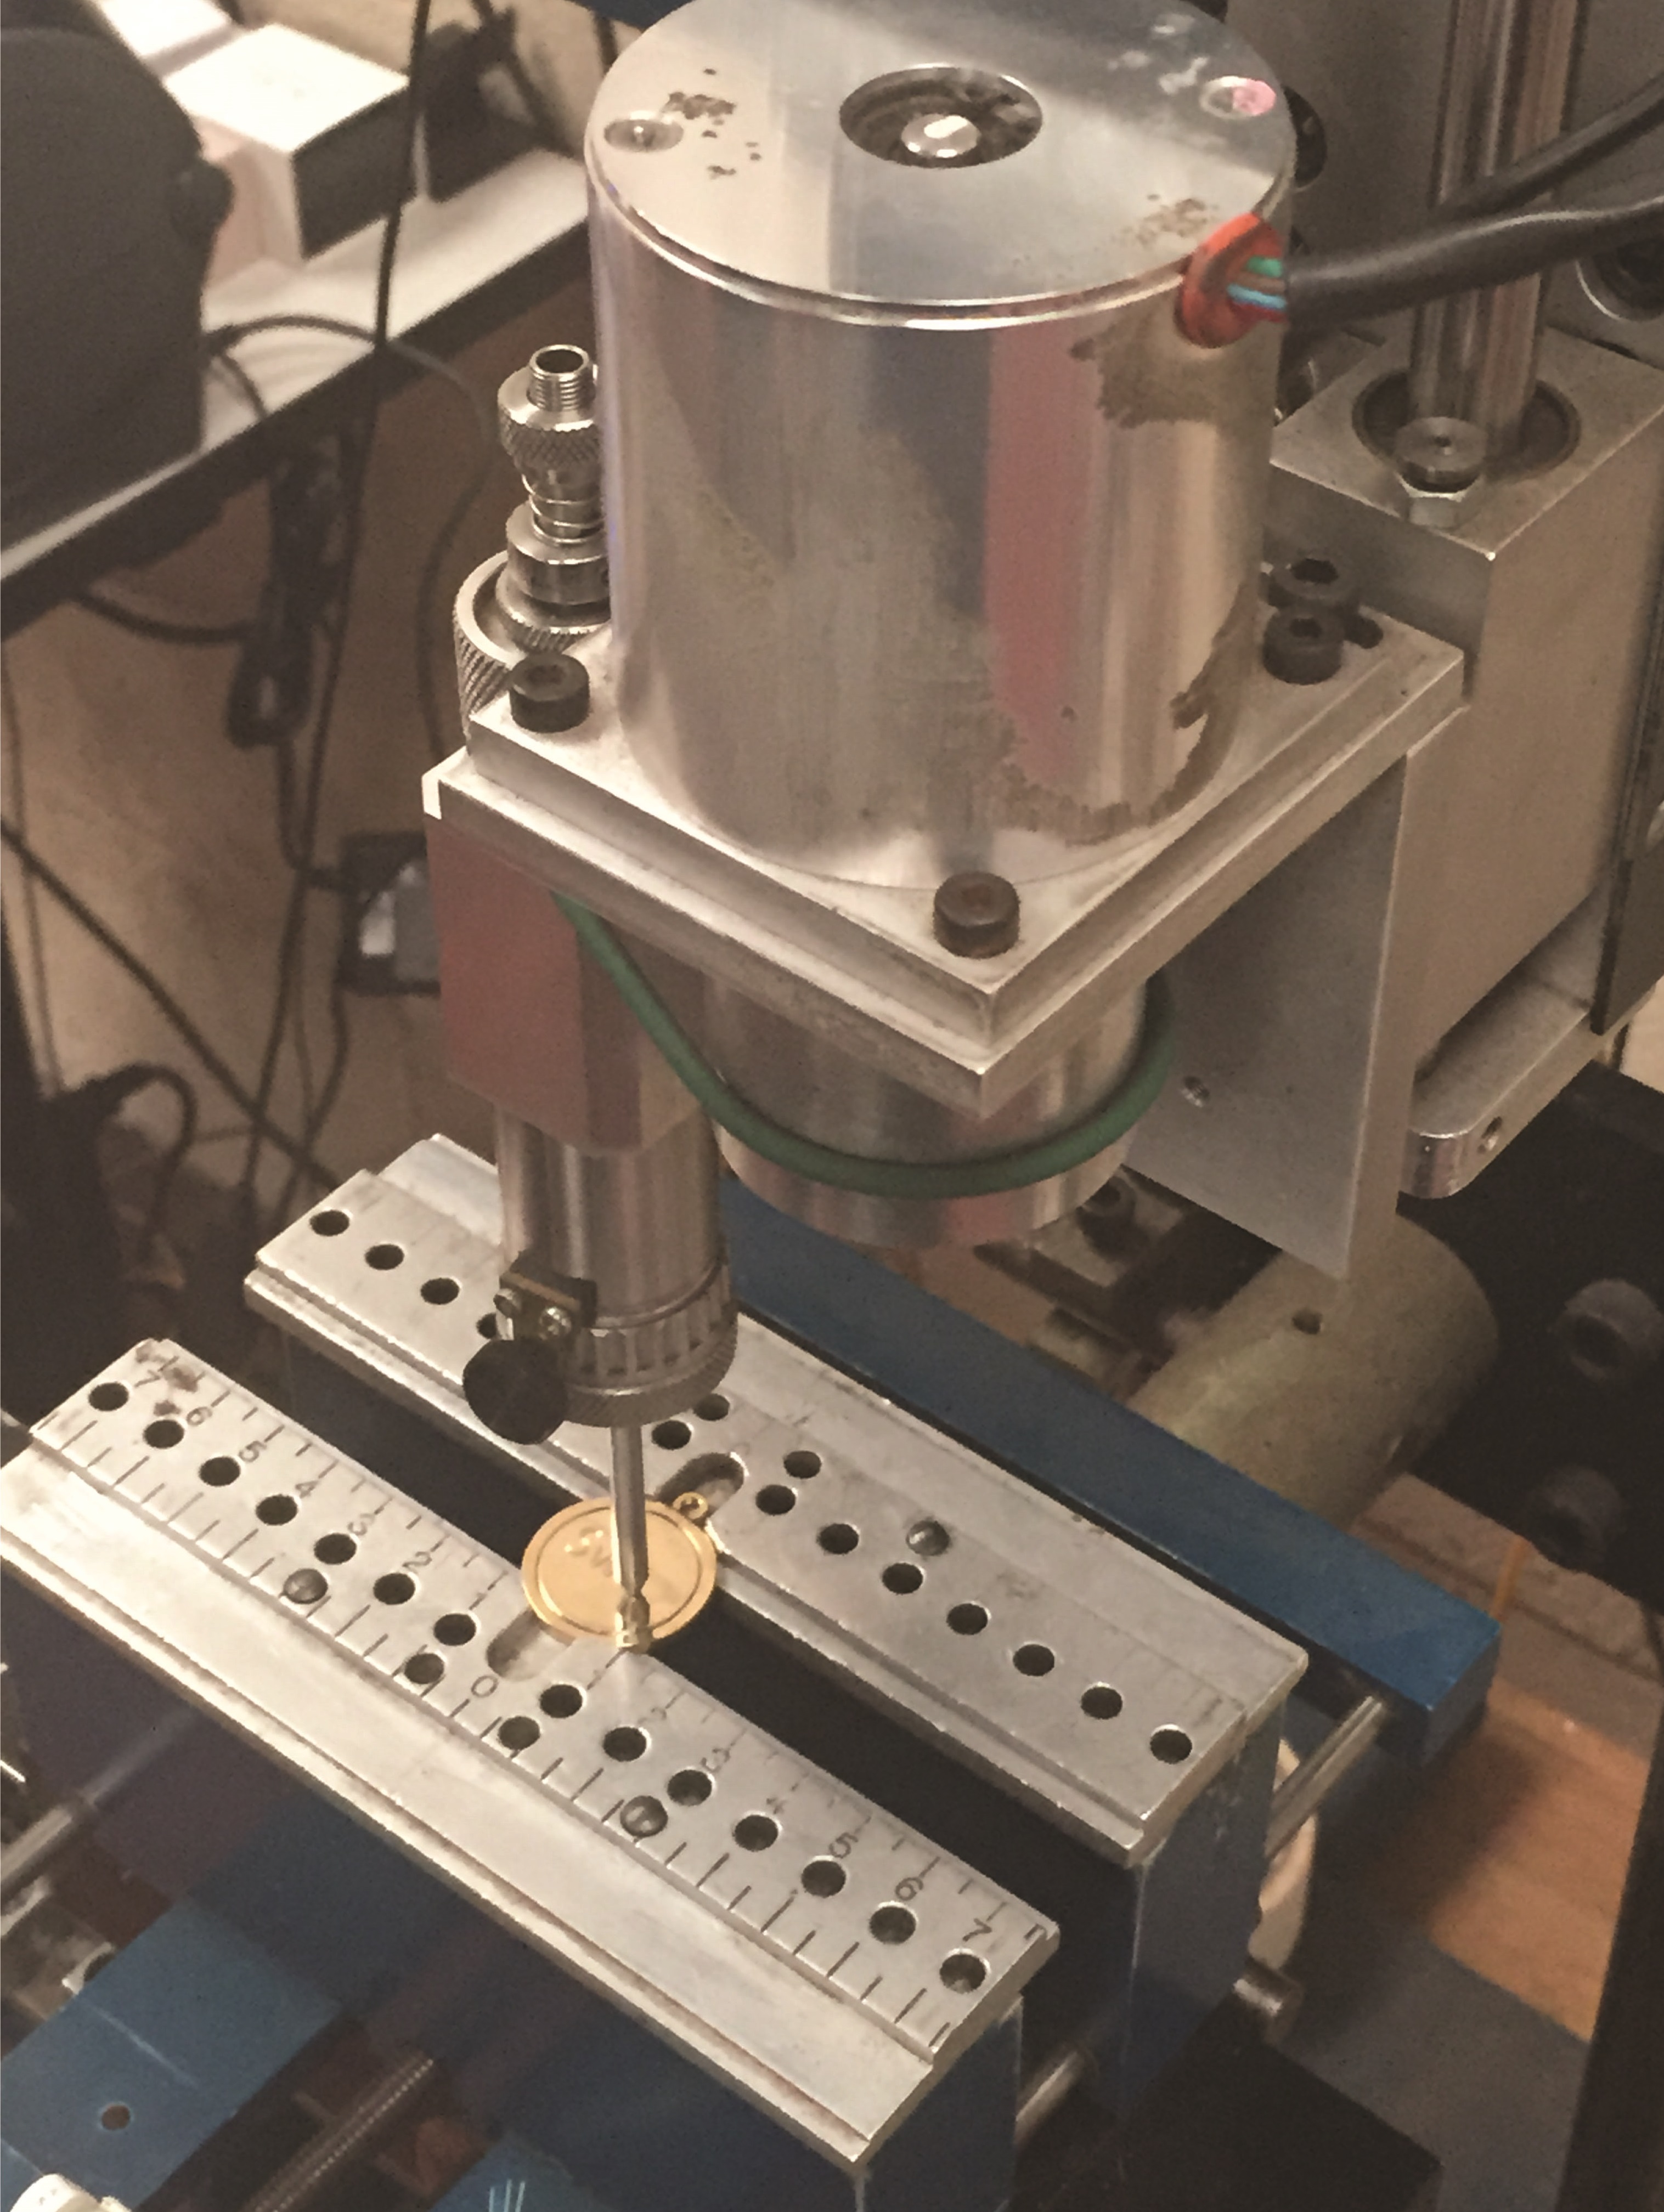
7. Once the engraver feels confident with the style of cut, they simply adjust the height settings of the cutter to be slightly lower, so that the spindle will make more of an indentation into the material.
8. The engraver can then remove the sellotape, sit back and watch the machine do its work until the finished product is produced.
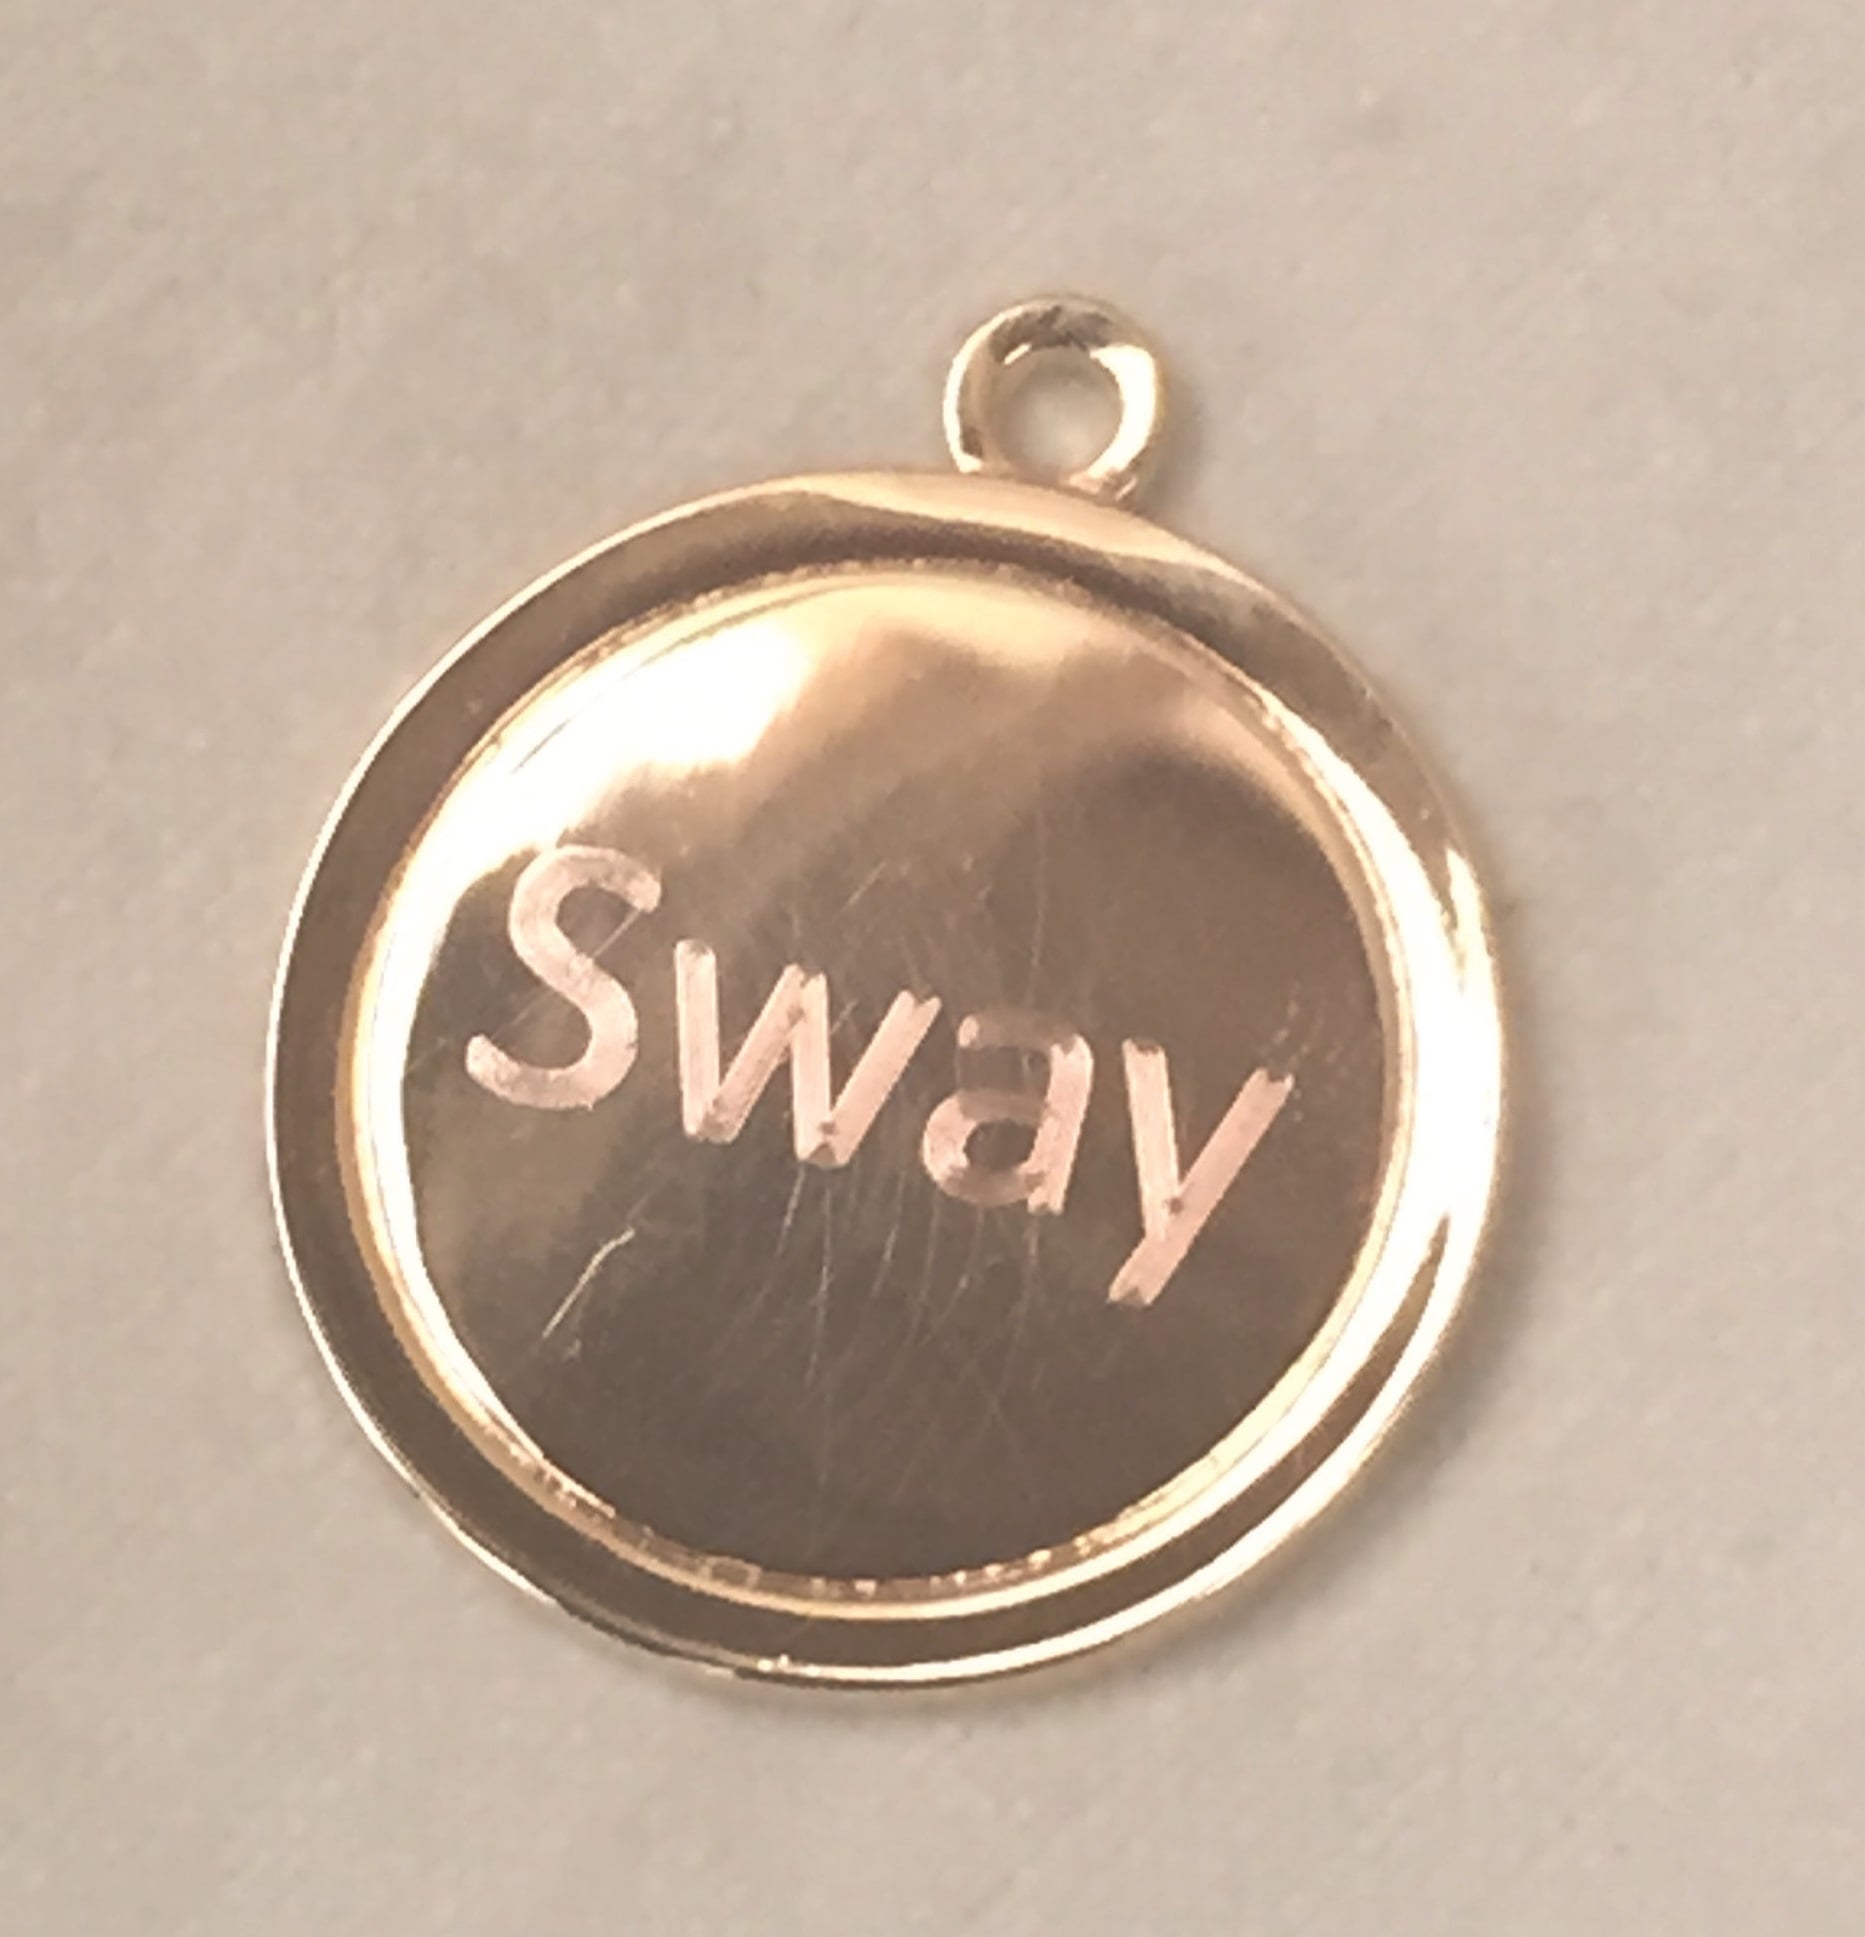
To make things a little easier to remember, we've broken down the engraving process even further into the following infographic. If you find this topic interesting then please feel free to share this infographic on social media, or you can 'Pin' the image if you are a Pinterest user.

Objects come in all matter of shapes and sizes, so the engraver’s job is an intricate one and requires a lot of skill, patience and precision. Once the engraving process is complete, they make sure that the object has the correct finish with a dry polish. With sterling silver objects, this is exclusively done with a silver cloth so that no scratches or fingerprints are left on this rather delicate material. Your perfectly engraved object is then carefully packaged and returned to you as quickly as possible!
Thank you reading! Did you like this blog? Have you got any questions for us? Please let us know in the comments section below!


Samuel
posted on Wednesday, 3 February 2016 10:48:10 Europe/London